Roquefort Cheese and Green Onion Tart
The ladies who lunch really exist. I saw them on the Upper East Side, where I stayed for several months recently, and they don't necessarily wear hats anymore ("Does anyone still wear a hat?") but they know how to command a room. Two women I sat next to at Maison Kayser completely ignored their bread basket, full of the city's best breads, and complained that the iced tea wasn't cold enough. You don't see that in Des Moines.
Here in Los Angeles, I found myself alone one night and invited my friend Diana over for dinner. I decided that even though this was a dinner, I'd treat it like a ladies luncheon. I'd serve salad, a crisp white wine and a Roquefort Cheese tart from Simon Hopkinson's Second Helpings of Roast Chicken.
When it's just two people, you really don't want to go all out and make a beef stew with cheesecake for dessert; so much will go to waste. But if you make a cheese tart--and use good cheese, like Roquefort--it's, nutritionally, not that different from a pizza but way more elegant. Elaine Stritch would approve.
Now, I have to make a confession. I had some trouble with the tart dough. This will come as no surprise to those of you who've read my blog for years and years and watched me butcher pie and tart after pie and tart. I'm not a master when it comes to pastry. But the pastry part of this recipe just doesn't work (or it doesn't work for the amateur): 3/4 cups all-purpose flour, 4 tablespoons butter, 1 egg yolk and 1 to 2 tablespoons ice water yields such a small amount of stuff, you end up with very little room for error. And error is my middle name when it comes to tart dough.
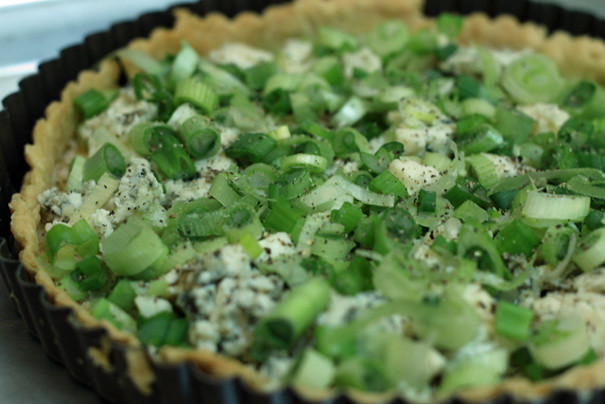
So, after failing once, I deferred to my own book and used Sara Moulton's technique and recipe for her apple tart. With her method, you do it all by hand; pinch in the butter, stir the water in with a fork, dump the dough on a board and then smear it in four sections. I won't get into the nitty gritty here, but the point is: it worked. And all I had to do after that was blind bake it, remove it from the oven, fill it with Roquefort cheese and scallions...
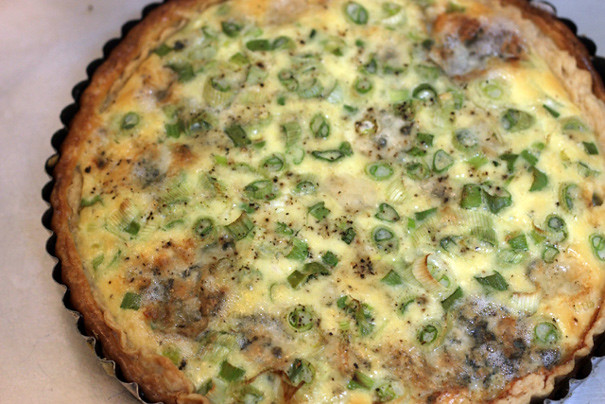
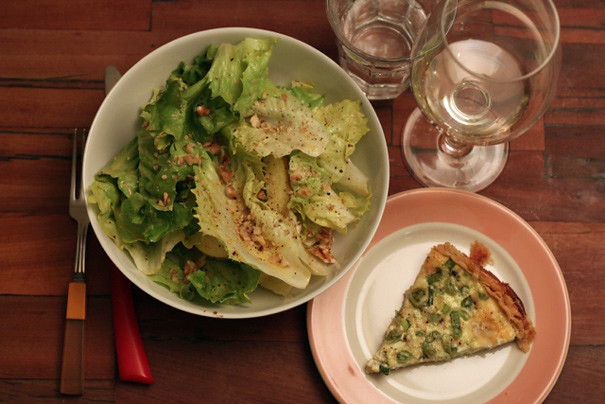
...and pour on a mixture of egg yolks, whole eggs and heavy cream. When it came out of the oven, despite my less-than-perfect crust, it looked impressive. Aren't you impressed?
Truth be told, some egg seeped through a whole in the crust and there was a ring of cooked egg around the perimeter. I just peeled it off and no one knew better.
To serve it, I made a simple salad of Boston lettuce tossed in a heavily mustarded dressing with chopped toasted walnuts on top.
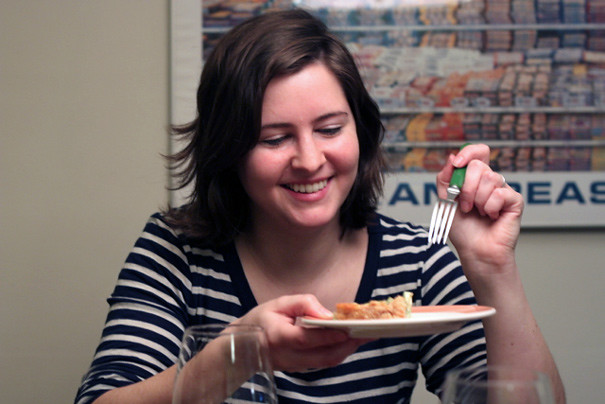
And this lady who lunches had nothing bad to say as she dug into her tart.
The best thing is: whatever you don't eat for dinner can be lunch the next day. Just be sure to wear your best Chanel suit while eating it and if someone throws red paint on your fur coat as you get up from the table, just keep walking. It's the best way to preserve your dignity.
Recipe: Roquefort Cheese and Green Onion Tart
Summary: From Simon Hopkinson with Sara Moulton's tart crust.
Ingredients
- 8 tablespoons (1 stick) cold unsalted butter, cut into 1/2-inch cubes
- 1 1/4 cups all-purpose flour, plus more as needed
- 1/4 teaspoon table salt (it dissolves easier into the dough)
- 2 to 4 tablespoons ice water
- 2 - 3 tablespoons dry bread crumbs
- 7 ounces crumbled Roquefort (use Roquefort, it's the best)
- 6 spring onions, thinly sliced (I used scallions)
- Freshly ground black pepper
- 2 egg yolks
- 2 whole eggs
- 1 1/4 cups heavy cream
Instructions
- To make the pastry, blend the butter with the flour and salt in a cold bowl, using your fingertips to pinch the ingredients together until they resemble coarse meal, with a few lumps. Drizzle in 2 tablespoons of the ice water and incorporate with a fork. Test the mixture by squeezing a handful: if it holds together without crumbling apart, it's ready. If not, add more ice water 1 tablespoon at a time and work in gently (don't overwork or the pastry will be tough).
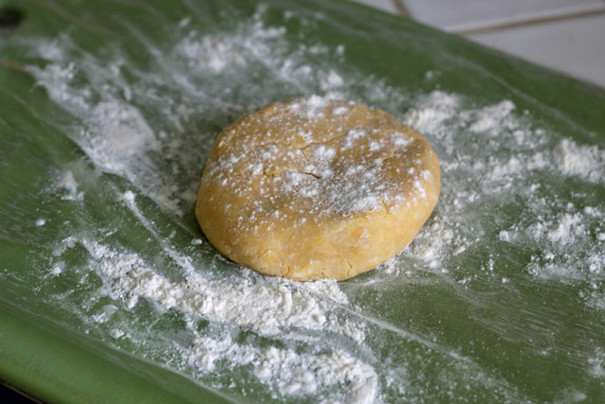
- Turn the dough onto a floured work surface and divide it into 4 portions. With the heel of your hand, smear each portion once in a forward motion to help distribute the fat. Use a bench scraper to bring the dough back together and form it into a disk. Wrap in plastic wrap and chill in the refrigerator for at least 1 hour.
- Remove the dough from the refrigerator. If it's rock solid, let it warm up for a few minutes (though not too much).
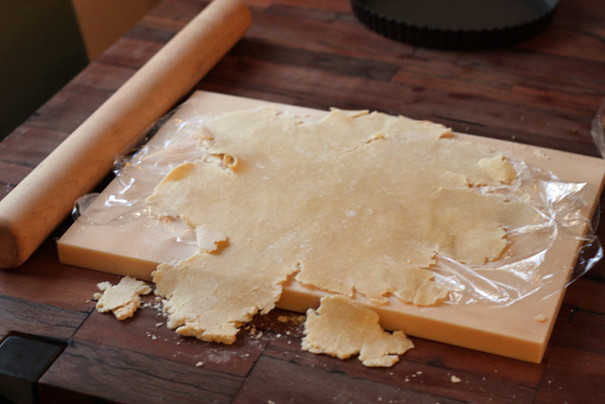
- On a floured surface with a rolling pin, roll out the dough into a 13-inch round. To ensure it stays round, push out from the center with the rolling pin and turn a little bit clockwise each time.
- Place the dough over the rolling pin to transfer it to a 10-inch tart pan with a removable fluted rim. Trim the excess dough by rolling the pin across the top. Don't force the dough into the nooks and crannies because it'll shrink; just urge the dough in the right direction. Cover and refrigerate for 1 hour (I skipped this step).
- Preheat the oven to 350.
- Blind bake the pastry by lining the uncooked pastry shell with a sheet of foil and filling it with, for instance, some dried beans (I used rice) and cooking it for about 15 - 20 minutes, removing it from the oven, transferring the foil and beans to a bowl or pan and returning the tart to the oven for a further 10 minutes or so, until it is golden, crisp, and well cooked through, particularly the base. (From Hopkinson's headnote: "Heed carefully how important it is to make sure that the blind-baked tart shell is dry and crisp before adding the filling: otherwise you will end up with a soggy bottom--and nobody really wants a soggy bottom, now, do they?")
- Sprinkle the bread crumbs evenly over the base of the cooked tart shell. Distribute the Roquefort and spring onions over the bread crumbs and season with the pepper. Whisk together the egg yolks, eggs, and cream, and spoon carefully over the cheese and onions, as evenly as possible. Slide into the oven and bake for 30 to 40 minutes until firm, with the surface of the tart pale golden and lightly puffed up. Remove from the oven and leave for 10 minutes or so; "savory tarts taste much better warm than hot."
Preparation time: 30 minute(s)
Cooking time: 1 hour(s)
Number of servings (yield): 6


